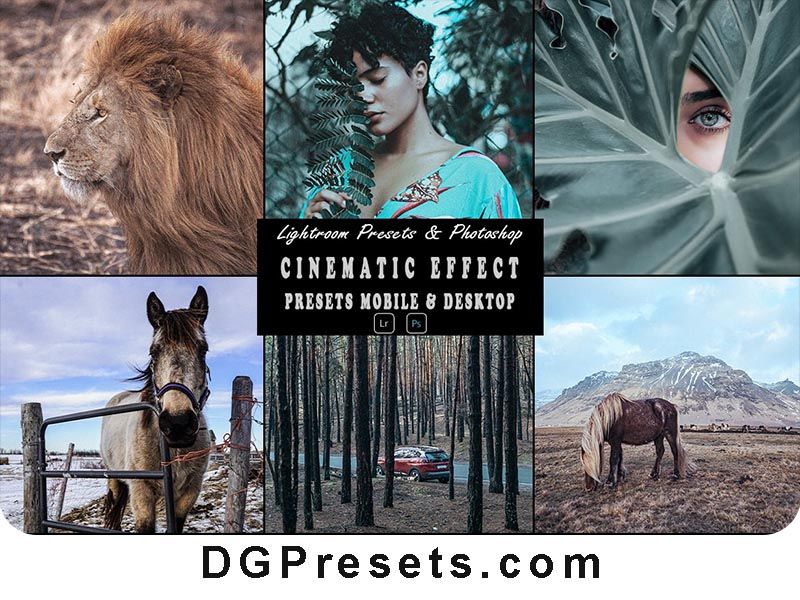
Turn your photos into breathtaking cinematic masterpieces with this Cinematic Effect Photoshop Action and Lightroom Presets Free Download! Whether you’re editing portraits, lifestyle shots, urban photography, or product images, this Lightroom Presets adds dramatic tones, deep contrasts, and a professional film-like finish to your images. You Can Also Download Free Photoshop Overlays
Why Use Cinematic Effect Presets & Actions?
Adds a Hollywood-style cinematic look to your photos.
Perfect for photography, blogging, and digital marketing.
Works on both Desktop & Mobile for seamless editing.
One-click transformation – Instant professional results.
Customizable settings – Adjust colors, contrast, and mood.
What’s Included?
Photoshop Actions (03 .ATN) – Apply cinematic effects in Photoshop with one click.
03 Lightroom Desktop Presets (.XMP) – Compatible with Lightroom Classic & CC.
03 Lightroom Mobile Presets (.DNG) – Edit on the go with Lightroom Mobile.
Step-by-Step Installation Guide – Quick and easy setup instructions.
How to Install & Use Photoshop Actions?
Installation (For Photoshop CS4-CS6 & CC)
1️⃣ Open Adobe Photoshop and go to Window > Actions.
2️⃣ Click the menu icon (☰) in the Actions Panel and select Load Actions.
3️⃣ Choose the .ATN file from the downloaded folder.
4️⃣ The action will now appear in your Actions Panel.
How to Use the Action?
1️⃣ Open the image you want to edit.
2️⃣ Go to Window > Actions and select the Cinematic Effect Action.
3️⃣ Click the Play ▶ button to apply the effect.
4️⃣ Adjust layers and settings as needed for the perfect cinematic look.
How to Install & Use Lightroom Presets?
For Lightroom Mobile (DNG Presets)
1️⃣ Download and unzip the preset files.
2️⃣ Transfer the .DNG files to your phone.
3️⃣ Open Adobe Lightroom Mobile and import the DNG files as images.
4️⃣ Select a DNG image, tap three dots (⋮), and choose Copy Settings.
5️⃣ Open your photo, tap three dots (⋮) again, and choose Paste Settings.
For Lightroom Desktop (XMP Presets)
1️⃣ Open Lightroom Classic CC and go to Develop Mode.
2️⃣ Click the “+” button in the Presets Panel and select Import Presets.
3️⃣ Locate and select the .XMP files, then click Import.
4️⃣ The presets will now be available in the Presets Panel.
Pro Tips for Best Results
Use high-resolution images for sharper cinematic effects.
Adjust highlights, contrast, and shadows to refine the mood.
Works best for portraits, travel photography, urban shots, and product images.
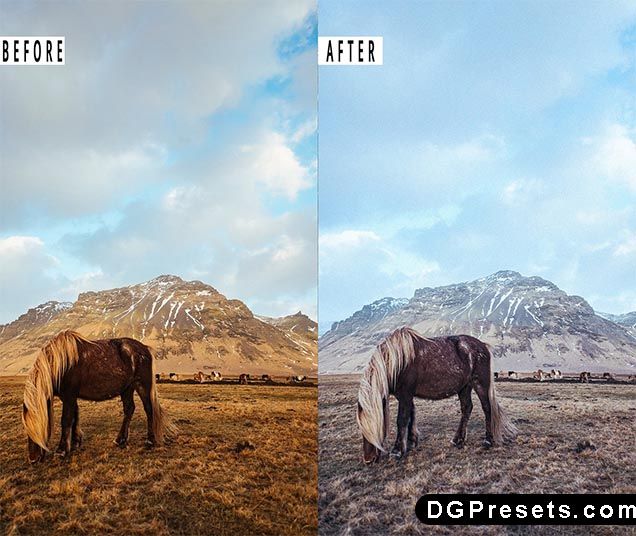
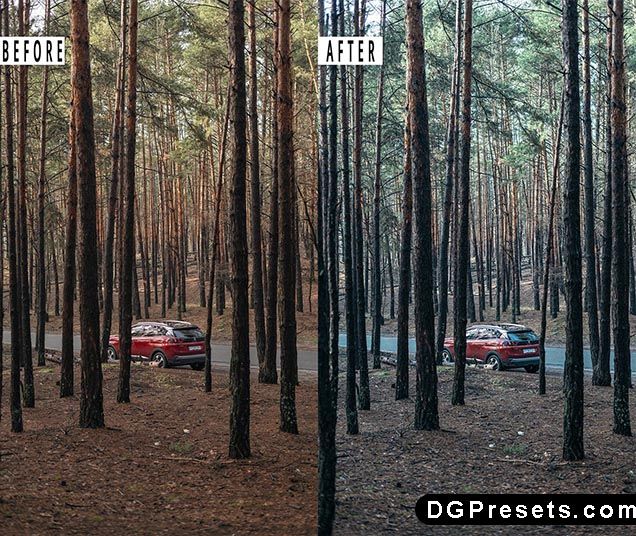
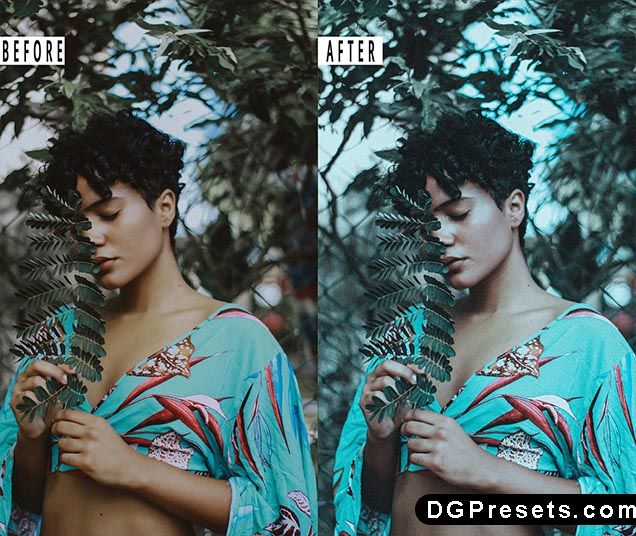
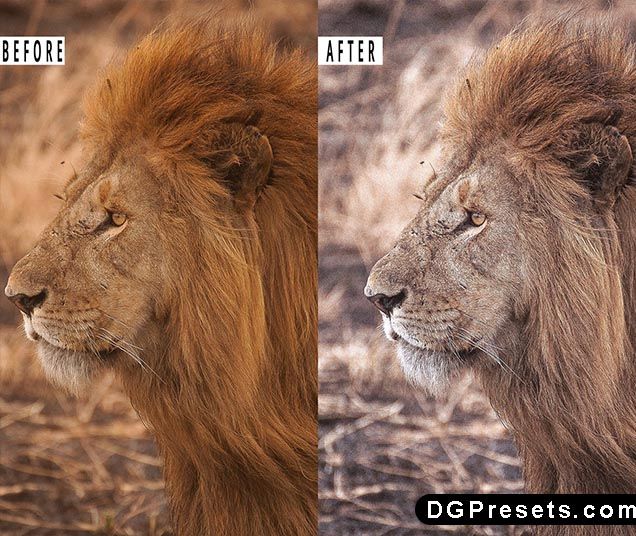
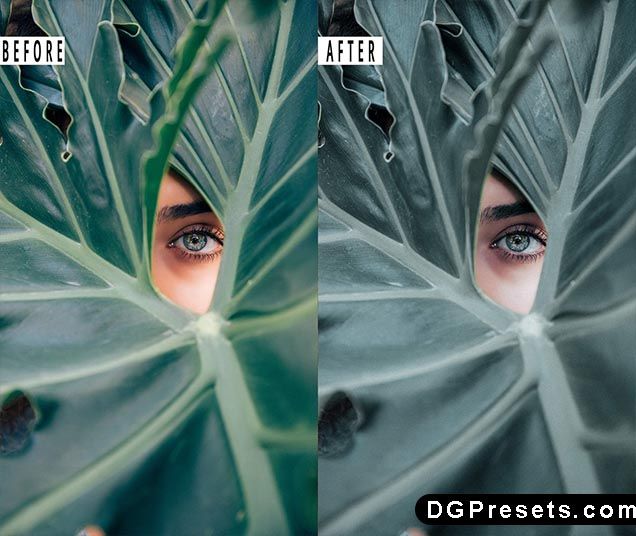
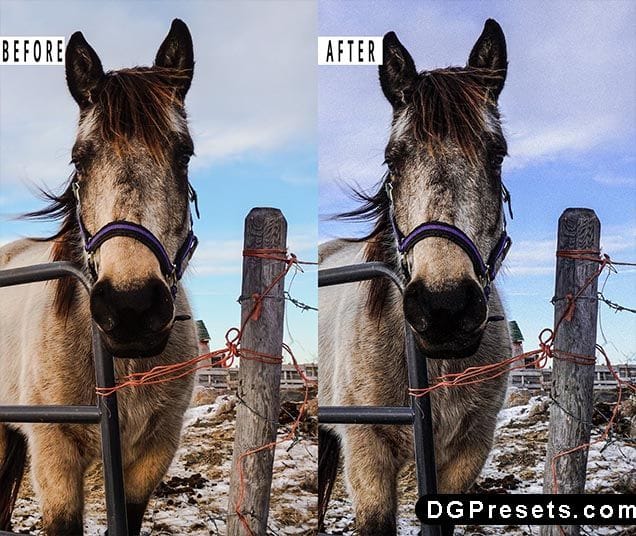
Before & After Preview
Why Download from DGPresets.com?
- Completely Free – No hidden fees, just high-quality presets & actions.
- Commercial Use Allowed – Use these in personal and professional projects.
- Direct Download Links – No waiting, just instant access.
- Before & After Previews – See the transformation before applying.
Download Free

Want more free Photoshop actions & presets? Visit DGPresets.com for unlimited downloads!